Nuxt 3: CASL Authorization
It's been a very long time since I wrote a blog post due to other priorities. It feels good to be back.

Introduction
Nuxt is a popular web framework that covers a lot of features. However, from time to time, we need additional plugins, modules, or libraries. CASL is one such library. It is an agnostic authorization library for Javascript/Typescript. I have been using CASL for more than two years across several projects. In this blog post, I will show you how to use CASL in a Nuxt project.
By the end of this blog, we aim to achieve a developer-friendly, robust, and extendable authorization system.
Installation
I assume that you will apply these changes to an existing project, so I will explain them in that context.
You need to install the following packages in your project:
pnpm install @casl/ability @casl/vuenpm install @casl/ability @casl/vueDefinitions
First, we need to understand how CASL works. It allows us to control resource authorization in our project. For example:
IMPORTANT
Don't forget to check the official CASL documentation. Documentation
- Can user read the articles?
- Can user change the articles?
- Can user
[action]on[subject]
This is the first step in using CASL in your project. By defining these rules, you can extend all your actions across all your resources.
Actions
Assume you have a types folder
export type Actions = 'Read' | 'Write' | 'Delete';Subjects
export type Subjects = 'Account' | 'Profile' | 'Post' | 'Comment';Ability
Now we can define our CASL interfaces
import { type AbilityClass, PureAbility,
    type SubjectRawRule } from "@casl/ability";
import type { Actions } from "./actions";
import type { Subjects } from "./subjects";

export type AppAbility = PureAbility<[Actions, Subjects]>;
export const AppAbility = PureAbility as AbilityClass<AppAbility>;

export type Rule = SubjectRawRule<Actions, Subjects, unknown>;
export type Permission = [Actions, Subjects];
With this, we will have strongly-typed functions in our app.
Nuxt Plugin
So far, we've configured CASL. Now, let's focus on Nuxt integration.
To use CASL, we need the @casl/vue package.
import { PureAbility } from "@casl/ability";
import { abilitiesPlugin } from "@casl/vue";
import type { Rule } from "~/types/permissions/ability";

export default defineNuxtPlugin(async nuxtApp => {
    const ability = new PureAbility();

    // Define the rules here
    // You can watch your user token (JWT) and update the rules accordingly
    const rules: Rule[] = [];

    /* Get your roles and convert them into rule object accordingly */
    rules.push({ action: 'Read', subject: 'Account' })
    rules.push({ action: 'Write', subject: 'Account' })
    rules.push({ action: 'Read', subject: 'Post' })
    /* Get your roles and convert them into rule object accordingly */

    // where the CASL understands your user's abilities
    ability.update(rules)

    // install casl for vue
    nuxtApp.vueApp.use(abilitiesPlugin, ability, {
        useGlobalProperties: true
    });
});
In the plugin, you configure your user's abilities. In most cases, I parse the user's JWT token to get all roles and configure abilities accordingly. This part depends on your authentication approach.
Composable
Next, we create a composable to make using CASL easier throughout the app:
import { useAbility } from "@casl/vue";
import type { AppAbility } from "~~/types/permissions/ability";

export const useAppAbility = () => useAbility<AppAbility>();
This will allow us to check user authorizations in nuxt.
$can global property
At this point, we are ready to test CASL in an action. If you check the plugin, you'll see that the user has three permissions defined. For instance, the user has Post Read permission, so the following button will be rendered:
<button v-if="$can('Read', 'Post')">View post</button>This button, however, will not render because the user does not have Write access to Post:
<button v-if="$can('Write', 'Post')">Edit post</button>You might notice that there is no IntelliSense for the $can function. To enable IntelliSense, you can extend your Typescript declarations. Here's how:
import type { AppAbility } from './types/permissions/ability'

declare module 'vue' {
    interface ComponentCustomProperties {
        $ability: AppAbility;
        $can(this: this, ...args: Parameters<this['$ability']['can']>): boolean;
    }
}

export { }
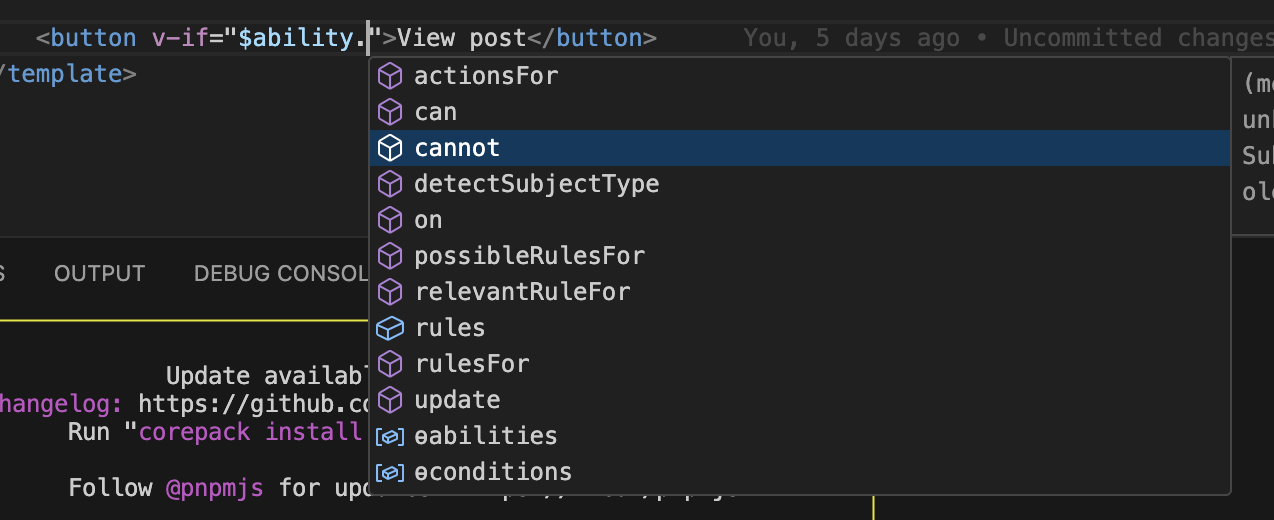
Now, intellisense will also work for $can:

For advanced use cases, you can access more CASL functions through the $ability global variable as well

Middleware and page protection
So far, so good. We can extend this logic to Nuxt pages, providing a structured way to handle authorization.
In Nuxt, we can use definePageMeta to define page properties. We can add a permission property there. Although there’s a known issue with typescript declarations for definePageMeta, you can still use it effectively.
...
import type { Permission } from './types/permissions/ability'

// Known issue: https://github.com/nuxt/nuxt/discussions/19949
declare module '#app' {
    interface PageMeta {
        permission?: Permission,
    }
}
...

export { }
Here's how to extend PageMeta with a permission property:
<script setup lang="ts">

definePageMeta({
    name: 'auth',
    permission: ['Read', 'Comment'],
})

</script>
Now, create a middleware to check permissions based on abilities:
import type { Actions } from "~~/types/permissions/actions";
import type { Subjects } from "~~/types/permissions/subjects";

export default defineNuxtRouteMiddleware((to, from) => {
    const ability = useAppAbility();
    const checkPermission = computed(() => {
        if (!to.meta.permission || !Array.isArray(to.meta.permission) ||
            !to.meta.permission[0] || !to.meta.permission[1]) return true;

        const action = to.meta.permission[0] as Actions;
        const subject = to.meta.permission[1] as Subjects;

        return ability.can(action, subject);
    });

    if ((to.path != from.path || import.meta.server) && to.meta.permission) {

        if (checkPermission.value) return;
        return abortNavigation({
            statusCode: 403,
            fatal: true,
            message: 'You are not allowed to access this page'
        });
    }
});
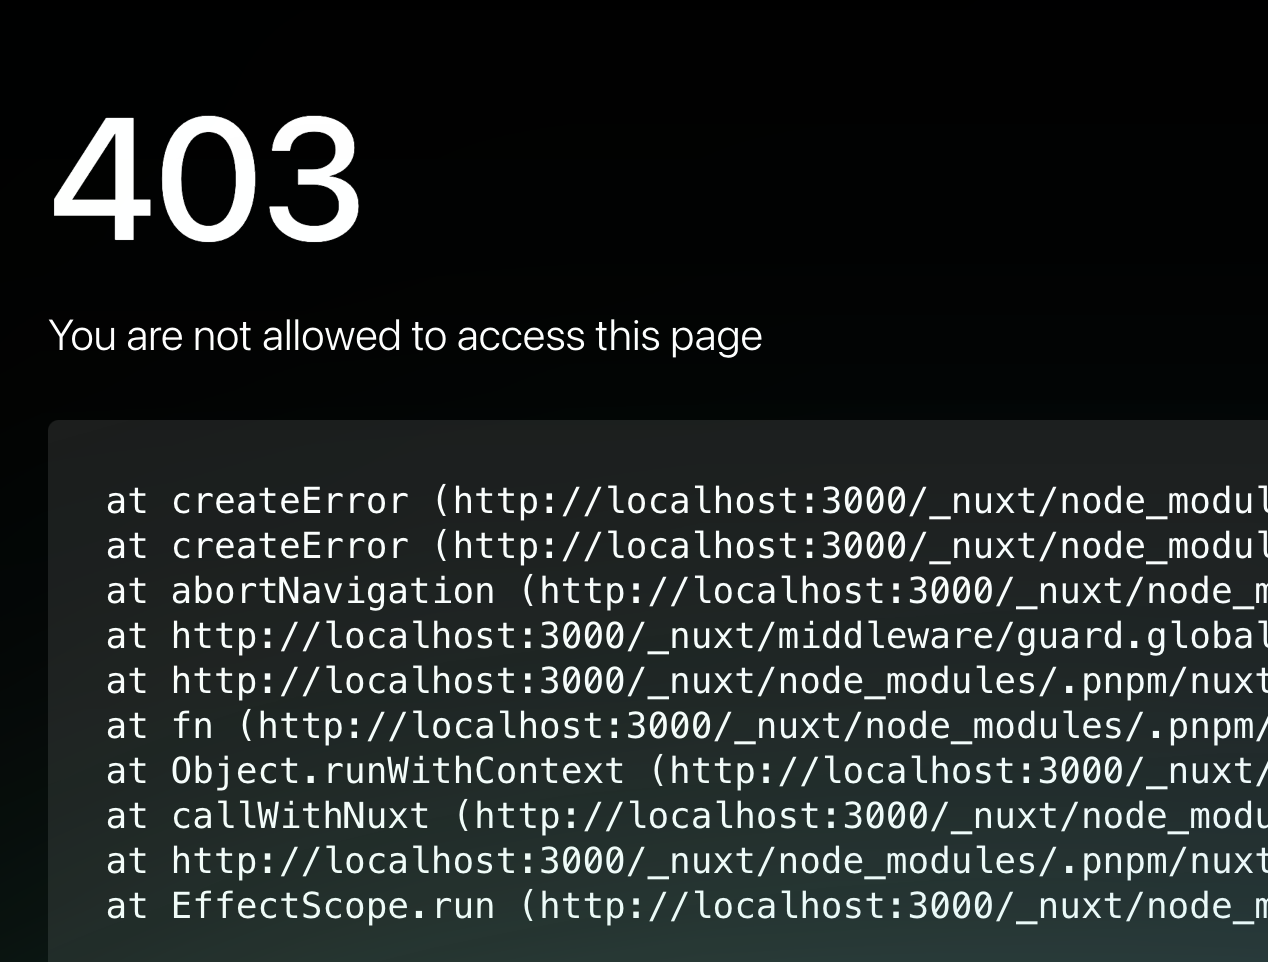
Now, when trying to access the /auth page, unauthorized users will see the following screen. You can customize it as needed:

Source code
You can check out a complete example in my GitHub repository. nuxt-casl-sample